Home  Episode Summaries Season 1 The Pyramid of Darkness: Chaos in the Sea of Lost Souls Episode Summaries Season 1 The Pyramid of Darkness: Chaos in the Sea of Lost Souls
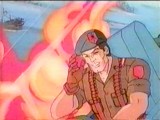
"Nothing like lasers to hasten weary footsteps!"
- Alpine (running to a plane with Quick Kick and Bazooka while under fire from Cobra agents)
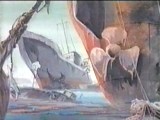
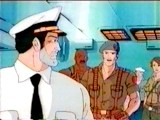
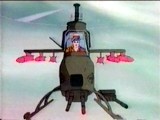
Admiral Ledger tells Flint that they can travel to the Sea of Lost Souls,
a thousand year-old graveyard for ships, in two hours, but Flint finds
the amount of time unacceptable because Cobra could plant the cube and
leave by the time the air craft carrier arrives. As Flint leads a team
of Joes to attack Destro and the Baroness, Xamot and a few Crimson Guards
climb along the side of the Joes' carrier and sneak into the detention
area.
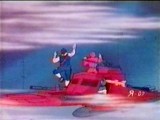
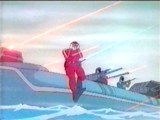
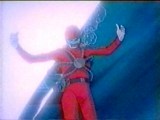
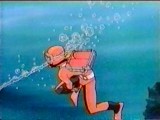
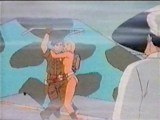
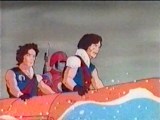
Lady Jaye leaps from Flint's Dragonfly and dives into the sea after
the Joes engage Cobra's forces. "Don't worry," she tells Flint as she plunges
into the water and in the middle of a battle. "I've been in worse dives."
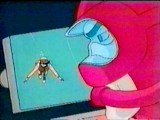
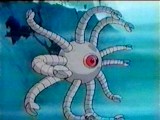
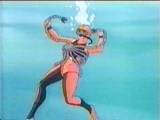
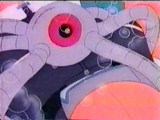
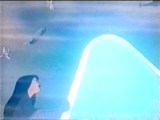
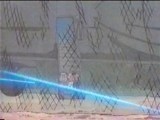
Destro spots Lady Jaye on a mirror built into the cube and tosses a robotipuss
toward her, but Lady Jaye uses a ring to shoot a laser into the robot's
eye to deactivate it. After the robotipuss retracts its arms and closes
its eye, Lady Jaye tosses the deadly toy toward Destro and snares him in
his own creation.
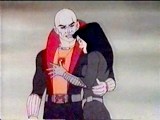
Tomax is rescued by Xamot thanks to some Starflies that explode and
release a sleeping gas that puts his brother's prison guards to sleep.
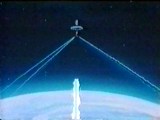
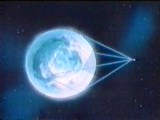
Lady Jaye tosses a harpoon toward Destro, who manages to maneuver into
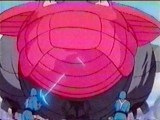
the harpoon's path so that it strikes the robotipuss. The cube is activated
and Cobra Commander shouts with glee because his plan is a success. Electrical
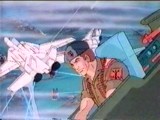
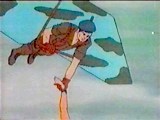
devices all over the world die including Flint's Dragonfly. Flint leaps
from the helicopter and use a Falcon glider to escape the falling Dragonfly.
"Don't forget about me," Lady Jaye cries while hanging on the rungs of
the helicopter. "I couldn't if I tried," Flint shouts before he catches
Lady Jaye.
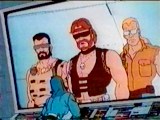
Tomax and Xamot escape with the aide of rafts pulled by sharks while
Destro and the Baroness ride away on a boat powered by the backs and oars
of Cobra soldiers. Tomax and Xamot send a flare into the sky and the Dreadnoks
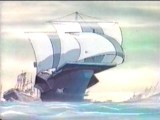
take charge of the Space Station. Flint suggests that the Joes harness
the power of Mother Nature by rigging sails onto the aircraft carrier and
the carrier floats home.
Shipwreck and Satin go their separate ways and as Shipwreck chases her
down and asks her to help them fight Cobra while she drives away, she tells
him that Cobra framed her father and he never really recovered. She hopes
they will meet again, then speeds up and leaves Shipwreck while singing
"The Cobra Who Got Away." Snake Eyes and the Joe animals catch up with
Shipwreck and Snake Eyes reminds him about the laser disc.
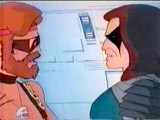
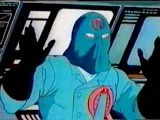
At Cobra Temple, Cobra Commander debates with himself as to how he should
present his ultimatum to the world. Should he start with his back to the
camera and turn to the camera or would a close-up create the definitive
dramatic moment for him, he wonders. The Crimson Guard Commanders enter
the room and tell him that they now control Space Station Delta and the
pyramid of darkness, and if Cobra Commander cooperates fully, then the
twins will not remove him completely.
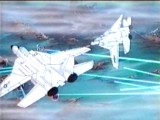
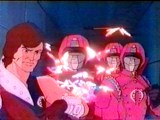
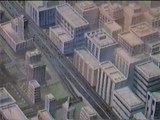
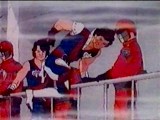
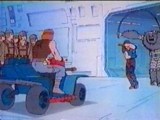
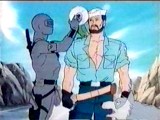
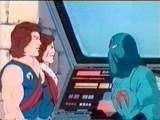
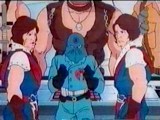
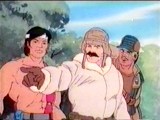
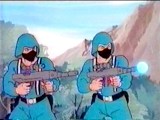
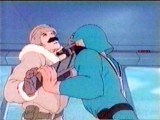
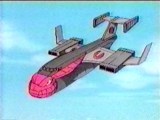
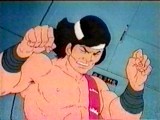
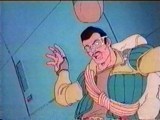
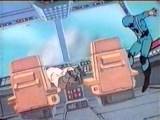
Alpine, Bazooka and Quick Kick climb off Major Bludd's HISS before it
travels through a waterfall and enters Cobra Temple then steal a Cobra
Transport Plane. However, several Cobra agents are onboard and attack the
Joes after they are in the air. Alpine and Bazooka defeat the enemies but
Bazooka, who is still suffering from an injured leg, is pushed back into
the control panel and causes the plane to dive toward the ground.
Part One - Part Two
|